Pixel sorting is the process of isolating a horizontal or vertical line of pixels in an image and sorting their positions based on any number of criteria. For instance pixels positions may be sorted by each pixel’s luminosity, hue or saturation. Manual pixel sorting, while possible, would be overly time consuming, instead Pixel sorting is accomplished using scripting or programming languages.
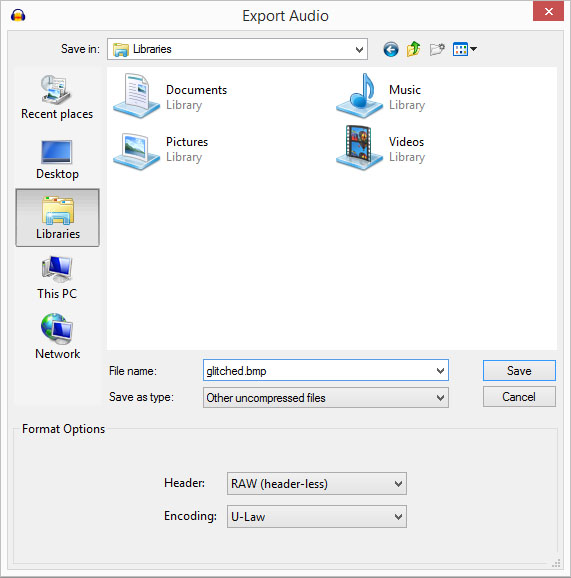
If you don’t have the time or inclination to pixel sort images using scripts you can use dedicated apps such as Glitch for iOS.
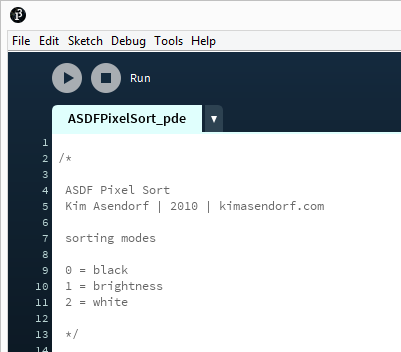
One popular programming language for pixel sorting is Processing. To get started download and install the latest version of Processing, version 3.1.1 at the time of writing this. Next select a pixel sorting script to start from, my own pixel sorting scripts are not written for Processing so for the purposes of this tutorial we’ll use a popular script made available by glitch artist Kim Asendorf, the ASDF Pixel Sort.
Download the ASDFPixelSort.pde from Kim’s GitHub repository by clicking the green button labelled Clone or download and select Download ZIP. If you’re familiar with GitHub you can do this a number of other ways. Once you’ve downloaded the ZIP you can extract the sorting script and open it in Processing by selecting:
File > Open
And navigating to the ASDFPixelSort.pde script file. In the script, which are referred to as sketches in Processing, you’ll need to change the following lines to point the script at the image you want to pixel sort:
// image path is relative to sketch directory
PImage img;
String imgFileName = "MyImage";
String fileType = "png";
For this tutorial we’ll use a PNG, though Processing supports GIF, JPG and TGA as well. Place your PNG in the same directory as the ASDFPixelSort.pde (which Processing may have placed in a new sub directory) and update the script with the filename.
Once you’ve updated the script with the name of your file simply press the Run button at the top left of the Processing window (it looks like a play button) and in a few seconds you should see a window with the results, a new image should also be saved to the sketch directory.
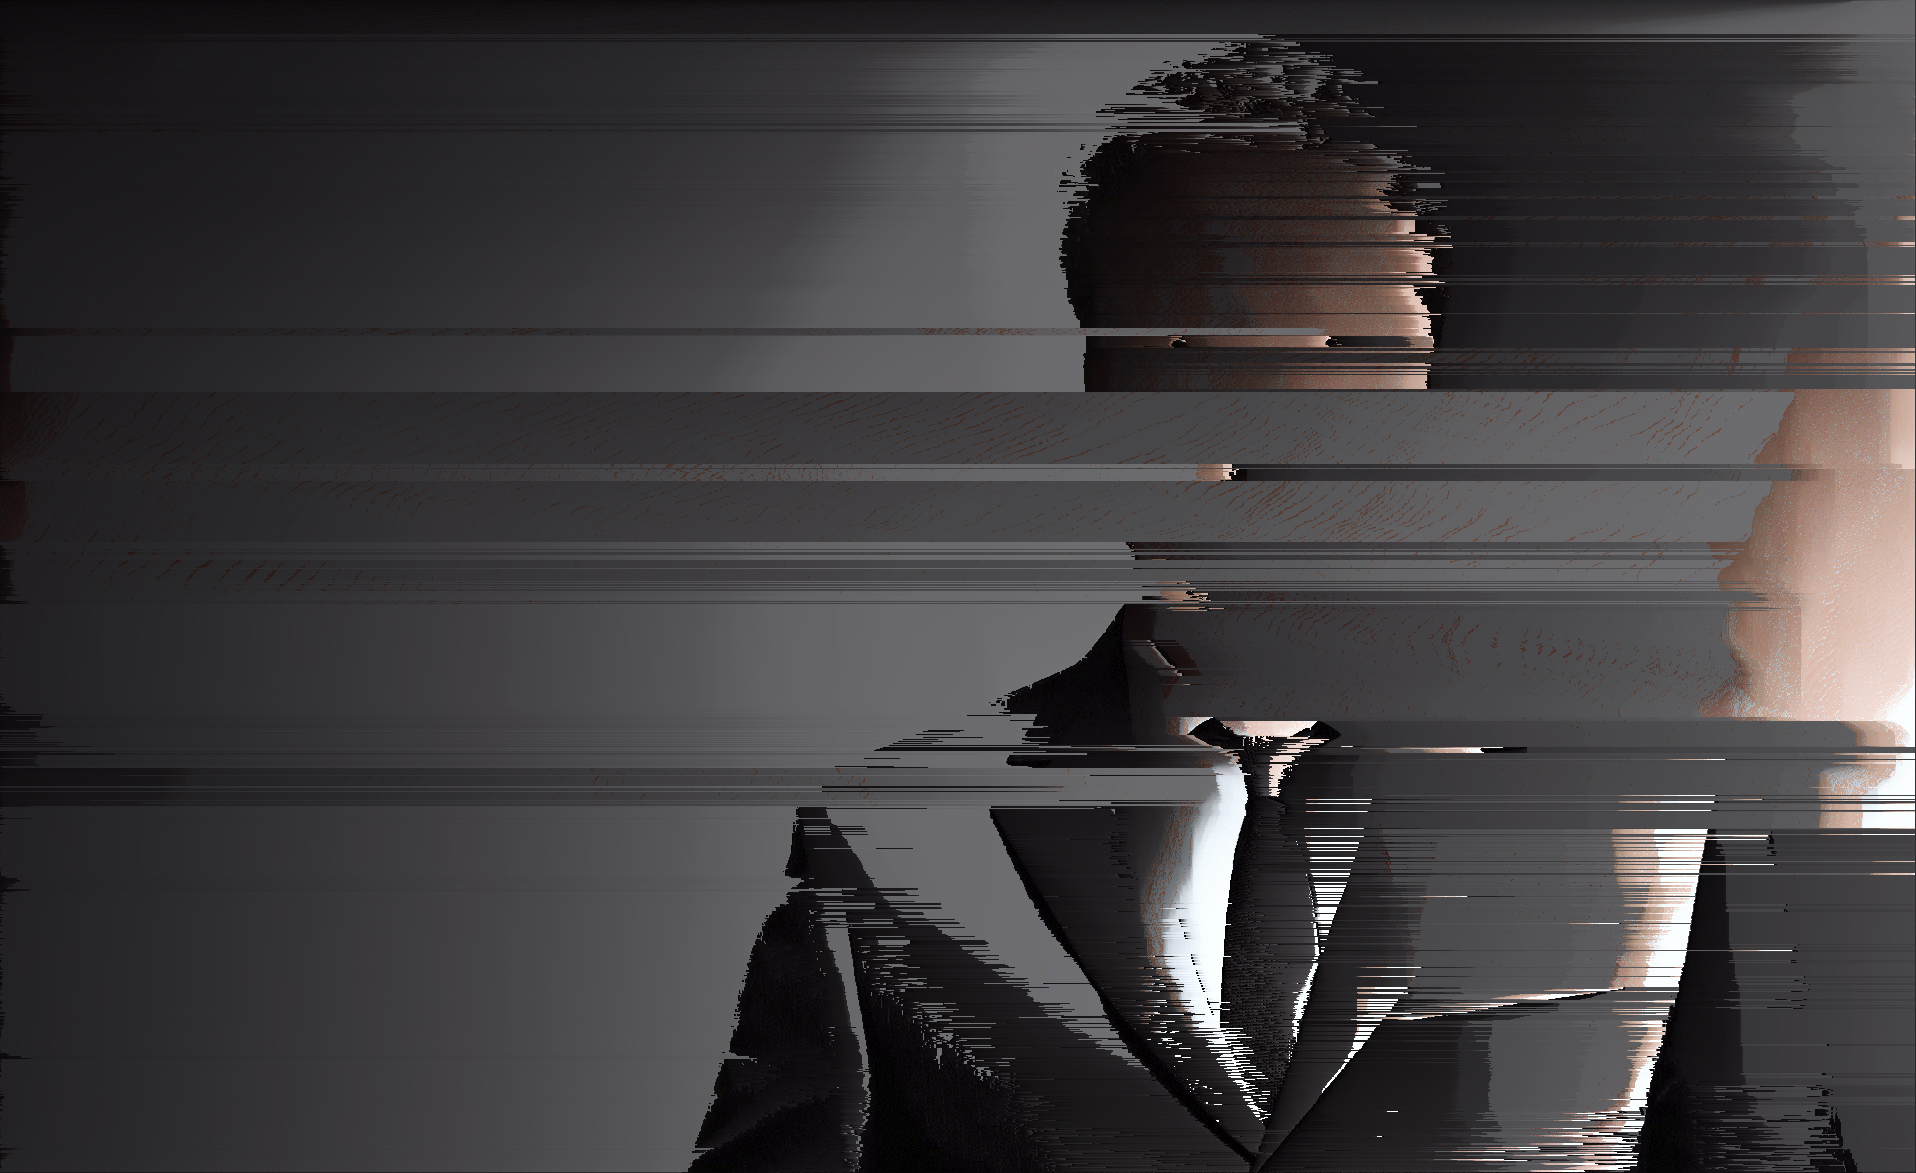
This particular script loops through both the columns and the rows of the image, but it doesn’t pixel sort the entire column or row, if it did, the result would look more like a blank gradient than anything interesting. Instead for each column and row it looks for a pixel to start sorting on and then it looks for a pixel to stop sorting on — this makes the algorithm somewhat intelligent resulting in identifiable elements of the image being left untouched.
In order to decide which pixel to start sorting on and which to stop sorting on this script can operate in three different modes. The mode can be changed by adjusting the mode variable, by default it is set to 1, but can be changed to either 0 or 2 as well. Different modes will work better depending on the image itself.
 sorting modes

 0 = black
 1 = brightness
 2 = white

 */
In mode 0, or black mode, the script will begin sorting when it finds a pixel which is not black in the column or row, and will stop sorting when it finds a black pixel. The script identifies black pixels by comparing the pixel’s color value to a threshold, if it’s lower than the black threshold the pixel is deemed to not be black, if it’s higher it’s deemed to be black. You can adjust this threshold by changing the blackValue variable which is by default set to -16000000.
In mode 1, or brightness mode, the script will begin sorting when it finds a pixel which is bright in the column or row, and will stop sorting when it finds a dark pixel. The script identifies black pixels by comparing the pixel’s brightness value to a threshold, if it’s lower than the brightness threshold the pixel is deemed to be dark, if it’s higher it’s deemed to be bright. You can adjust this threshold by changing the brightnessValue variable which is by default set to 60.

In mode 2, or white mode, the script will begin sorting when it finds a pixel which is not white in the column or row, and will stop sorting when it finds a white pixel. The script identifies white pixels by comparing the pixel’s color value to a threshold, if it’s lower than the white threshold the pixel is deemed to not be white, if it’s higher it’s deemed to be white. You can adjust this threshold by changing the whiteValue variable which is by default set to -13000000.

The script can also be run many times to apply the pixel sorting effect multiple times. This can be set by adjusting the loops variable which is by default set to 1.
int loops = 1;

// threshold values to determine sorting start and end pixels
int blackValue = -16000000;
int brightnessValue = 60;
int whiteValue = -13000000;
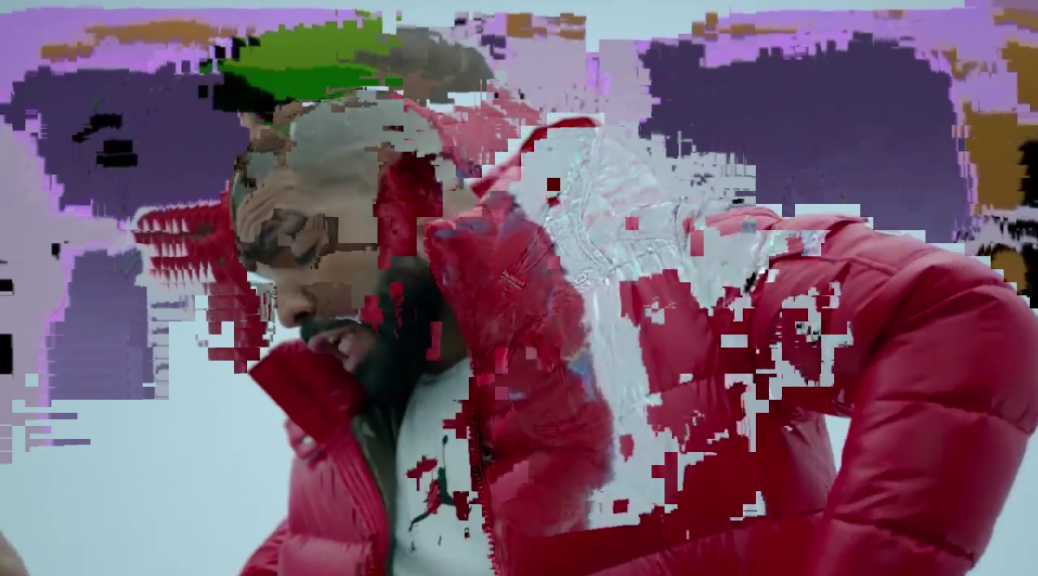
Pixel sorting is a powerful, and fun, concept. Start by trying out different modes and adjusting the various threshold values. From there you can try moving the row sorting above the column sorting, this will result in more visible vertical sorting (similar to the featured image of this post) as whichever sort is performed last will have the greatest impact on the final image. Alternately you can rotate your image in image editing software before pixel sorting it and then rotate it back to accomplish a similar result. If you break the script, just download the original and get back to experimenting.
  // loop through columns
  while(column < width-1) {
    println("Sorting Column " + column);
    img.loadPixels();
    sortColumn();
    column++;
    img.updatePixels();
  }

  // loop through rows
  while(row < height-1) {
    println("Sorting Row " + column);
    img.loadPixels();
    sortRow();
    row++;
    img.updatePixels();
  }
Some scripts haven’t been updated in a while. If the script you are trying to use is having errors (that don’t seem to do with not finding your image) right from the get-go you might want to try an early version of Processing, versions 2.2.1 and 1.5.1 are listed towards the bottom of the download page.
For more advanced pixel sorting scripts you can have a look at Jeff Thompson’s GitHub which has a number of examples. At the time of writing this I was experiencing errors running them though — they may need updating to function correctly, or at all. If you’ve got the hang of Processing than there’s no reason why you can’t craft an entirely original script. There are two main concepts to explore here, the first is how to determine which pixels to sort, and the second is how to sort them. I’ve had success experimenting with hue based sorting, as well as combining pixel sorting with Sobel edge detection algorithms. #corruptabsolutely
iOS (iPhone, iPad)
Windows
OSX
Processing