Pixel sorting is the process of isolating a horizontal or vertical line of pixels in an image and sorting their positions based on any number of criteria. For instance pixels positions may be sorted by each pixel’s luminosity, hue or saturation. Manual pixel sorting, while possible, would be overly time consuming, instead Pixel sorting is accomplished using scripting or programming languages.
If you don’t have the time or inclination to pixel sort images using scripts you can use dedicated apps such as Glitch for iOS.

One popular programming language for pixel sorting is Processing. To get started download and install the latest version of Processing, version 3.1.1 at the time of writing this. Next select a pixel sorting script to start from, my own pixel sorting scripts are not written for Processing so for the purposes of this tutorial we’ll use a popular script made available by glitch artist Kim Asendorf, the ASDF Pixel Sort.
Download the ASDFPixelSort.pde from Kim’s GitHub repository by clicking the green button labelled Clone or download and select Download ZIP. If you’re familiar with GitHub you can do this a number of other ways. Once you’ve downloaded the ZIP you can extract the sorting script and open it in Processing by selecting:
File > Open
And navigating to the ASDFPixelSort.pde script file. In the script, which are referred to as sketches in Processing, you’ll need to change the following lines to point the script at the image you want to pixel sort:
// image path is relative to sketch directory
PImage img;
String imgFileName = "MyImage";
String fileType = "png";
For this tutorial we’ll use a PNG, though Processing supports GIF, JPG and TGA as well. Place your PNG in the same directory as the ASDFPixelSort.pde (which Processing may have placed in a new sub directory) and update the script with the filename.
Once you’ve updated the script with the name of your file simply press the Run button at the top left of the Processing window (it looks like a play button) and in a few seconds you should see a window with the results, a new image should also be saved to the sketch directory.
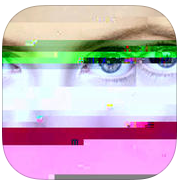
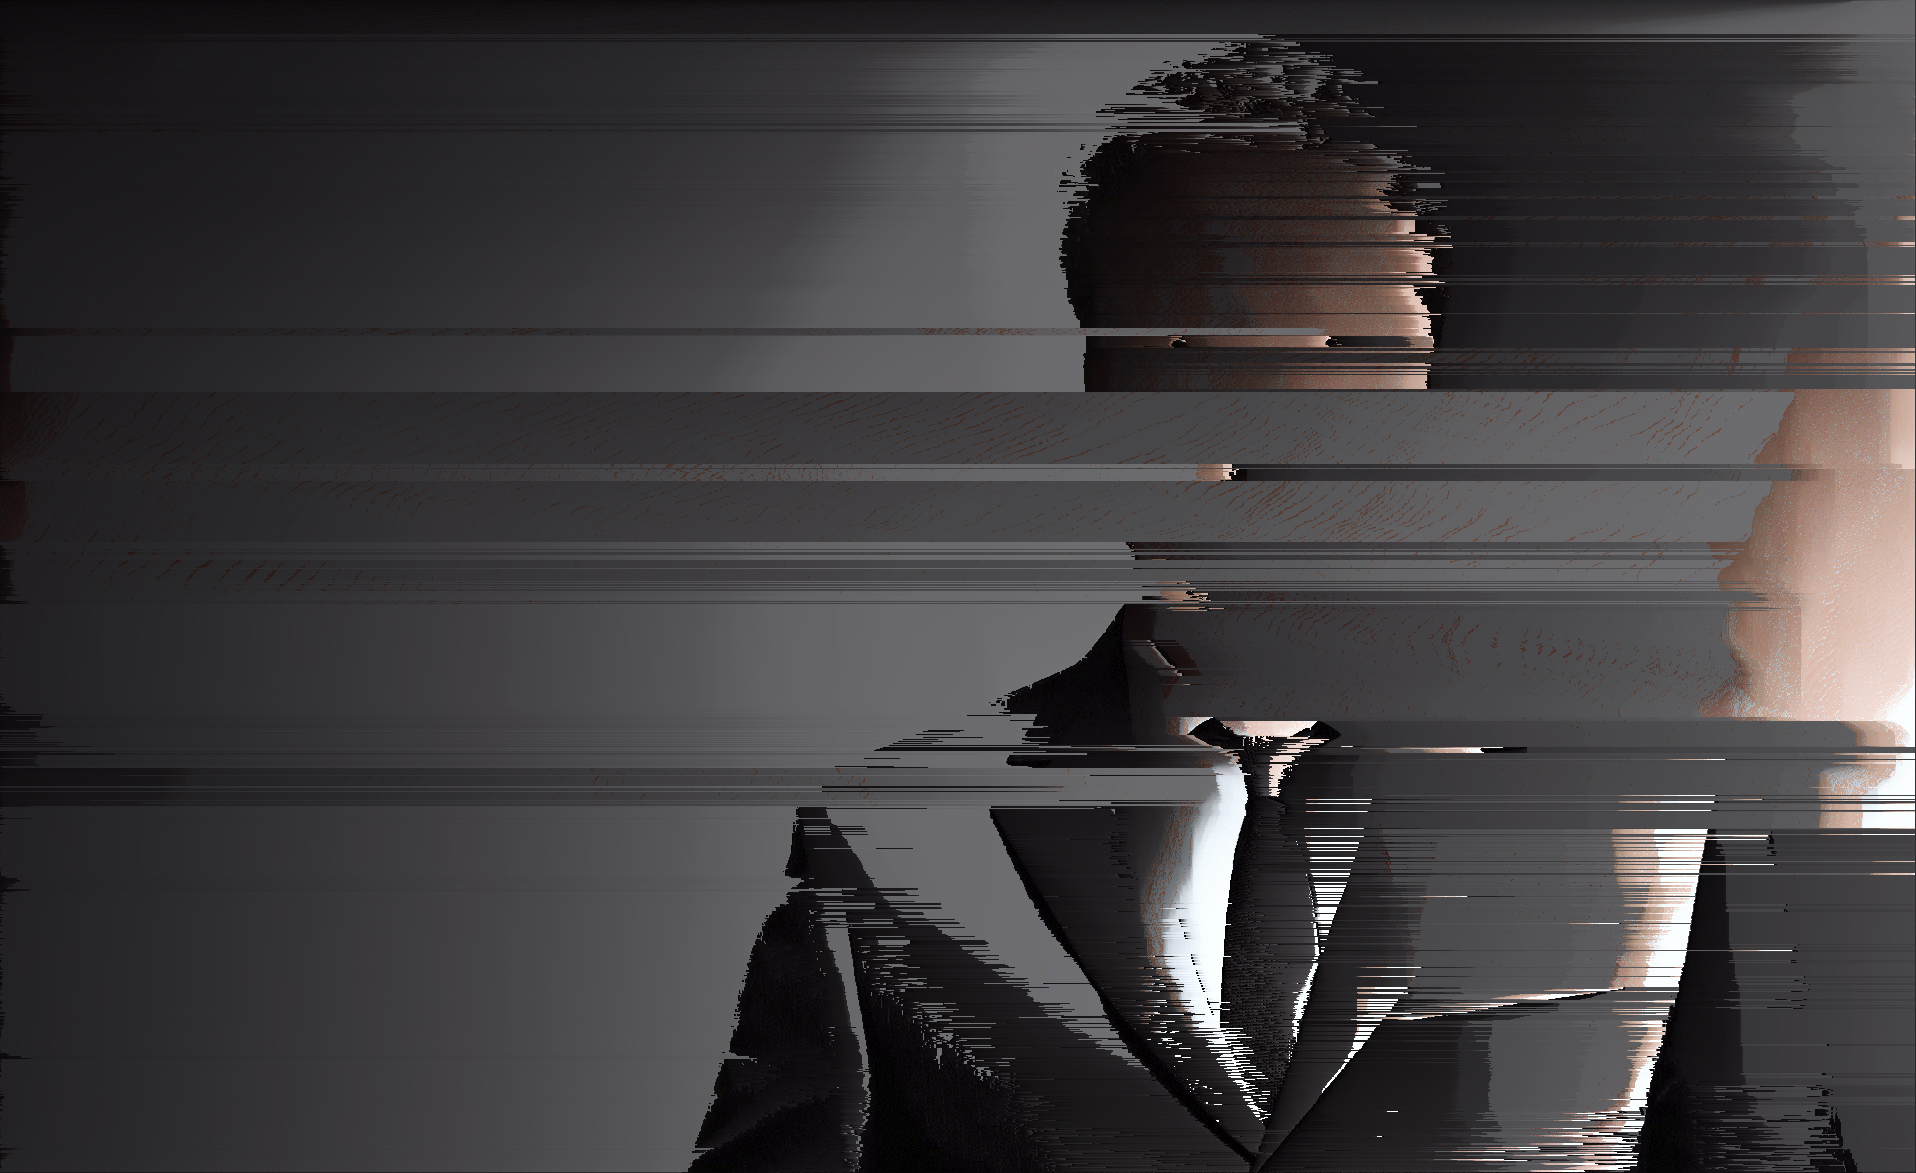
![]()
This particular script loops through both the columns and the rows of the image, but it doesn’t pixel sort the entire column or row, if it did, the result would look more like a blank gradient than anything interesting. Instead for each column and row it looks for a pixel to start sorting on and then it looks for a pixel to stop sorting on — this makes the algorithm somewhat intelligent resulting in identifiable elements of the image being left untouched.
In order to decide which pixel to start sorting on and which to stop sorting on this script can operate in three different modes. The mode can be changed by adjusting the mode variable, by default it is set to 1, but can be changed to either 0 or 2 as well. Different modes will work better depending on the image itself.
 sorting modes

 0 = black
 1 = brightness
 2 = white

 */
In mode 0, or black mode, the script will begin sorting when it finds a pixel which is not black in the column or row, and will stop sorting when it finds a black pixel. The script identifies black pixels by comparing the pixel’s color value to a threshold, if it’s lower than the black threshold the pixel is deemed to not be black, if it’s higher it’s deemed to be black. You can adjust this threshold by changing the blackValue variable which is by default set to -16000000.
In mode 1, or brightness mode, the script will begin sorting when it finds a pixel which is bright in the column or row, and will stop sorting when it finds a dark pixel. The script identifies black pixels by comparing the pixel’s brightness value to a threshold, if it’s lower than the brightness threshold the pixel is deemed to be dark, if it’s higher it’s deemed to be bright. You can adjust this threshold by changing the brightnessValue variable which is by default set to 60.

In mode 2, or white mode, the script will begin sorting when it finds a pixel which is not white in the column or row, and will stop sorting when it finds a white pixel. The script identifies white pixels by comparing the pixel’s color value to a threshold, if it’s lower than the white threshold the pixel is deemed to not be white, if it’s higher it’s deemed to be white. You can adjust this threshold by changing the whiteValue variable which is by default set to -13000000.

The script can also be run many times to apply the pixel sorting effect multiple times. This can be set by adjusting the loops variable which is by default set to 1.
int loops = 1;

// threshold values to determine sorting start and end pixels
int blackValue = -16000000;
int brightnessValue = 60;
int whiteValue = -13000000;
Pixel sorting is a powerful, and fun, concept. Start by trying out different modes and adjusting the various threshold values. From there you can try moving the row sorting above the column sorting, this will result in more visible vertical sorting (similar to the featured image of this post) as whichever sort is performed last will have the greatest impact on the final image. Alternately you can rotate your image in image editing software before pixel sorting it and then rotate it back to accomplish a similar result. If you break the script, just download the original and get back to experimenting.
  // loop through columns
  while(column < width-1) {
    println("Sorting Column " + column);
    img.loadPixels();
    sortColumn();
    column++;
    img.updatePixels();
  }

  // loop through rows
  while(row < height-1) {
    println("Sorting Row " + column);
    img.loadPixels();
    sortRow();
    row++;
    img.updatePixels();
  }
Some scripts haven’t been updated in a while. If the script you are trying to use is having errors (that don’t seem to do with not finding your image) right from the get-go you might want to try an early version of Processing, versions 2.2.1 and 1.5.1 are listed towards the bottom of the download page.
For more advanced pixel sorting scripts you can have a look at Jeff Thompson’s GitHub which has a number of examples. At the time of writing this I was experiencing errors running them though — they may need updating to function correctly, or at all. If you’ve got the hang of Processing than there’s no reason why you can’t craft an entirely original script. There are two main concepts to explore here, the first is how to determine which pixels to sort, and the second is how to sort them. I’ve had success experimenting with hue based sorting, as well as combining pixel sorting with Sobel edge detection algorithms. #corruptabsolutely
iOS (iPhone, iPad)
Windows
OSX
Processing
Thanks, helped me a lot. But I had problems with Processing 3, had to use the P2.
And THIS SITE IS AMAZING!!!
Great to hear, I’ll add a note about trying previous versions. Could you be more specific as to the trouble you experienced? I recently contributed to Kim’s repository in order to update that script so I’d be curious to know what went wrong.
In Processing 3.1.1 I try to run the code and the “could not find sketch size” keep appearing. Sorry, but I don’t understand much about codes, so I can’t give an accurate description of the problem. I’ve found this page where I understand that I should download Processing 2.2.1: https://plus.google.com/+KimAsendorf/posts/UfgPS296zP8
Sorry for the possible bad english.
That issue is with the size() method in Processing 3. It was changed in P3 so that it no longer accepts variables as parameters, only hard-coded numbers. The ADSF Pixel Sort sketch was updated to do this, so it should be fixed with the latest code. But, using Processing 2.2.1 as you have, is also a valid solution.
Hey
I struggled during all my afternnon to find some good pixel processing software. I found your tutorial an hour ago and it seems great. I have just one problem. I do all the necessary, and when i process my images, it gets awfully cropped.
I put a jpg image, about 900 ko, 2000p of width and 1541 of height, and i get a 2,5 Mo png file 1916-1053
I don’t understand at all. I just change the filename and the file type in the script, nothing else. I hope you will be able to help (and that you still check this comment section haha)
These scripts set the Processing window to the size of the image. It could be that your operating system, or version of Java is affecting this somehow. You can try changing the lines,
size(1, 1);
[…]
surface.setSize(img.width, img.height);
To the actual size of the image,
size(2000, 1541);
surface.setSize(2000, 1541);
Though I’m not sure why you’re having this issue. Please post in the Processing Forums for further discussion.
Thanks for your quick response !
I tried your solution, and it doesn’t work, it’s the same problem ! I’ll try posting on the forums then, thanks anyway 🙂
This issue has been fixed on GitHub the script should work fine for any size image now.
Hi, I don’t understand how make vertical pixel sorting, any help please ?
The easiest way, without having to adjust the script, would be to rotate your source image 90 degrees, then apply the script, the rotate the resulting image back 90 degrees.
If you want to play around with the script try moving the chunk labelled “// loop through rows” to above the chunk labelled “// loop through columns” and observe the result.
Thx a lot dude !!!!
Hi, I had downloaded the 2.21 version for mac, but when i cut/copy my photo file and click on the run button, i have this message: “The file is missing or inaccessible, make sure the URL is valid or that the file has been added to your sketch and is readable”. Can you help me with that? Thanks!
Place your image file in the same directory as the script and ensure that the name matches the filename written in the script code and that the file type and extension match as well,
String imgFileName = “MyImage”;
String fileType = “png”;
Tks Phil for your answer
but i’v got the same error message, with this line in yellow:
size(img.width, img.height
here is the part with the information of my photo:
PImage img;
String imgFileName = “Blur1.JPG”;
String fileType = “jpg”;
int loops = 1;
int blackValue = -10000000;
int brigthnessValue = 60;
int whiteValue = -6000000;
int row = 0;
int column = 0;
boolean saved = false;
void setup() {
img = loadImage(imgFileName+”.”+fileType);
size(img.width, img.height);
Do not include the extension in the file name. It is added below with the fileType string. Try,
String imgFileName = “Blur1”;
String fileType = “jpg”;
A-LLE-LU-JA
Tk you very much Phil
im having the same issue, what do you mean by “same directory”? nthx
Thank you so so much, this article was very informative and helpful!!~
Changing thresholds isn’t really affecting my image a lot. is there a reason for this
Perhaps you have the mode set incorrectly? Insure that you are adjusting thresholds related to the mode you are sorting with.
Hi, I figured it out. I had to experiment a bit more with the mode like you said; the pixels in my image just weren’t producing significant results with my threshold numbers with some modes.
Thanks for this article explaining your technique. We have been working on getting pixel sorting to work real-time in browser and have had a bit of success. It’s applied it to an image on my site if you’d like to see the results – http://guytrowbridge.com/
Great stuff! Nothing there that can’t be done in Javascript, it’d just get a little slow with larger images.
☺
Hey Guy, this is obviously a longshot since you left this comment like, two years ago, but do you have a GitHub repository or anywhere I could see more info about what you’ve done here? cuz it’s brilliant, but not very human-readable 🙂
Hey Timothy. I’ve not shared the code on GitHub sorry, been trying to find a commercial project to use it on for ages so was a bit reluctant to share. Hit me up on Twitter if you’d like to know more I can share some insights as to how we did it. https://twitter.com/guytrowbridge
Does this work for video?
There’s no reason why this type of process wouldn’t work for video. This script will not accomplish that though. You would have to extract all the frames, pixel sort them and then re-combine them.
I’m am seeing no change in the image when I change the loop variable. Everything else is working . Has anyone else experienced this or found a fix??
Is there a way to pixel sort only part of an image with the ASDFPixelSort? I’m about a week into learning and I’ve managed to figure out how to /start/ the sorting at a certain row or column (‘with the int x = ‘ part of the code) but when I change the value for int xend =, it doesn’t make any noticeable difference. i’ve changed the value drastically, used different images, etc, and I’m stuck. Do you know what I’m doing wrong?